How to Back-up Your Computer on Windows 10
Unfortunately your hard drive can let you down at any time, dragging with it all that it contains. This is why you should regularly back up your files. If your hard drive stops working, these backups will be more than useful, especially if you experience hard drive failure and need data recovery. Windows 8 introduced a backup solution called File History. This is already present in Windows 10. Once you have activated it, this history saves the contents of your libraries once every hour. This program is easy to activate, configure, runs automatically and backs up everything you may ever need.
 Credit: Pixabay
Two things you need to do:
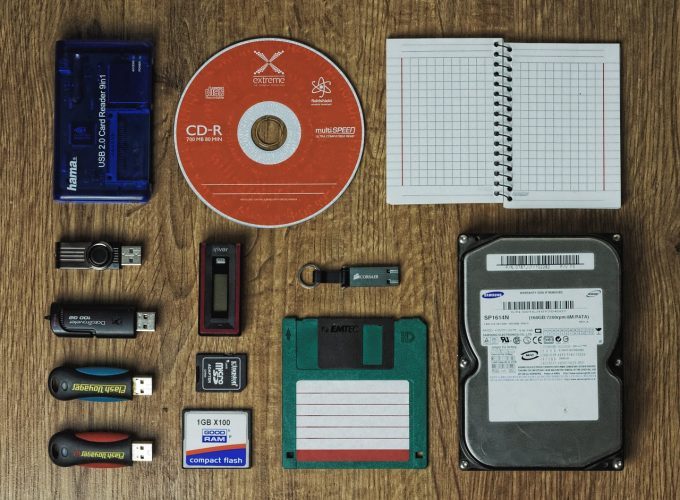
- An external hard drive: To be able to carry out these backups automatically, you need an external hard drive connected by a cable to a USB port of your computer. Windows immediately recognises it and you just leave it connected so that the backups are done automatically.
- Enable File History: This tool is delivered free of charge with all versions of Windows but it will not work until it is enabled.
For Windows to automatically save your work every hour, follow these steps:
- Plug in your Disk drive
Plug your hard drive into a USB port on your computer (insert your USB stick into a port on your computer, or a good capacity memory card into your tablet).
- Open the Control Panel.
Select the System and Security category in the control panel and then click the File History link for the File History window to appear. The program will attempt to determine which disk drive it can use for your backup, be sure to select the right drive. If you need to change disk, click the Select Drive link in the left pane of the window and the Select Drive window to appear.
- Select the drive link
You will find a list of all available media. Click the one you want to use, then click the OK button. If your disk is not displayed, it means that Windows did not recognise it. Unplug it, restart your PC, and reconnect the drive to another USB port. The Select Drive window also has an Add Network Location option. You can use it to choose a device (and a folder) available on your network.
- Click on the Activate button.
This button will start the File History start-up. It is then possible for Windows to ask if you want to share your backups with other members of your home group. Choose Yes if File History is saved on a large hard disk accessible by all, or No if you use a removable media. Windows place your backups in a folder called ‘File History’ of the disc you have chosen. Do not move this folder because Windows may not be able to find it the day you need to restore.
Written by The Original PC Doctor and posted on April 12, 2017.