OZ Verified Business
Australia's No.1 Computer Support Company
The Original PC Doctor - Carbon Neutral
   
Need Technical Support? 1300 723 628 Call Service is open 24 Hours/ 7 Days a Week
 

Apple Mac Repairs & Service

Apple Mac Repairs and Service

Are you a die-hard Apple Mac owner? We know you love your Mac and we can help with all your Apple Mac repairs and service needs.

apple mac repairs

apple mac repairs

Looking for Apple Mac Repairs, Service and Support? Then you are in the right place! Apple computer owners consider themselves a special breed of computer users; however, when the trusty Apple computer breaks down, it is not easy to find a reliable service person to repair it. We also understand that most Apple computer owners develop a close bond to the equipment and want to ensure that their Apple device is well cared for, and fortunately for you, you’re in the right place.

Many of our local computer technicians know Apple and Macs inside out, and they can come to your home or business to cure any problems that you might be having with your equipment.

Typical Apple/Mac Problems

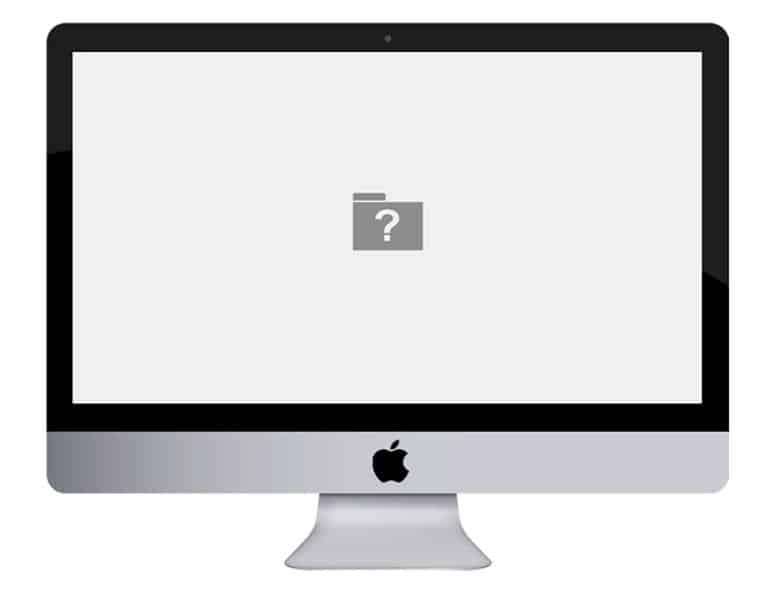
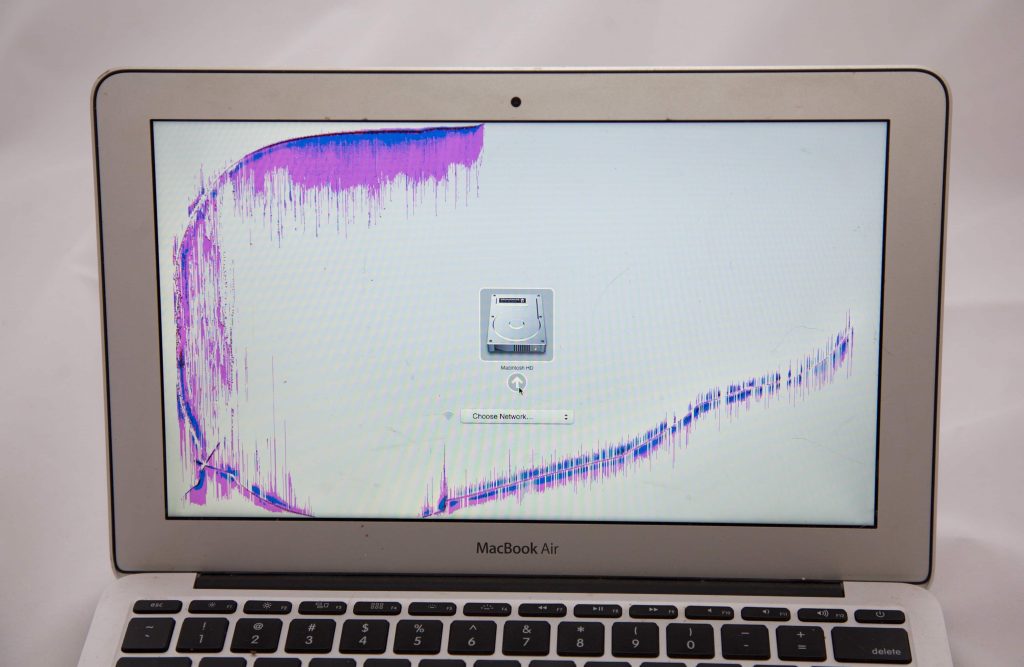
  • iOS, Operating System is not booting, and a picture of the file is showing on the screen.
  • Data Recovery from hard drive or Mac.
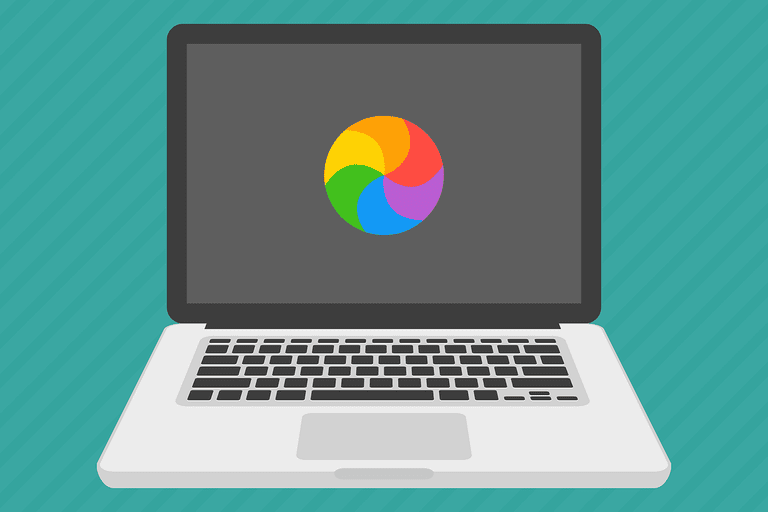
  • Spinning Beach-ball/Cursor.
  • The CD/DVD is stuck in the drive or won’t read disks.
  • The hard drive is at full capacity and needs a larger drive upgrade and/or Solid State Hard “SSD” performance upgraded drive.
  • Mac is running slow and needs a Memory Upgrade.
  • Forgotten Passwords.
  • Damaged Screen.
  • Damaged Trackpad and/or Keyboard.
  • Broken Power Button.
  • Failed Sync between your Mac and iPhone.
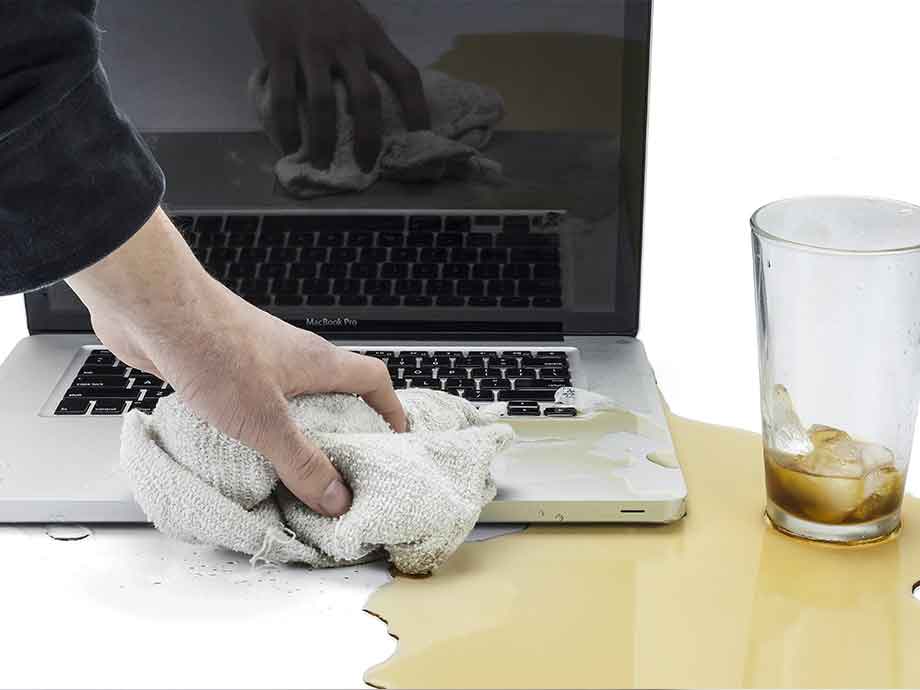
  • Liquid Spill/Water Damage.

Whatever Apple product you own, we can fix it – guaranteed, or you won’t pay a cent! We fix all the Apple products listed below; if you want more information or a free quick quote, call us on 1300 723 628;

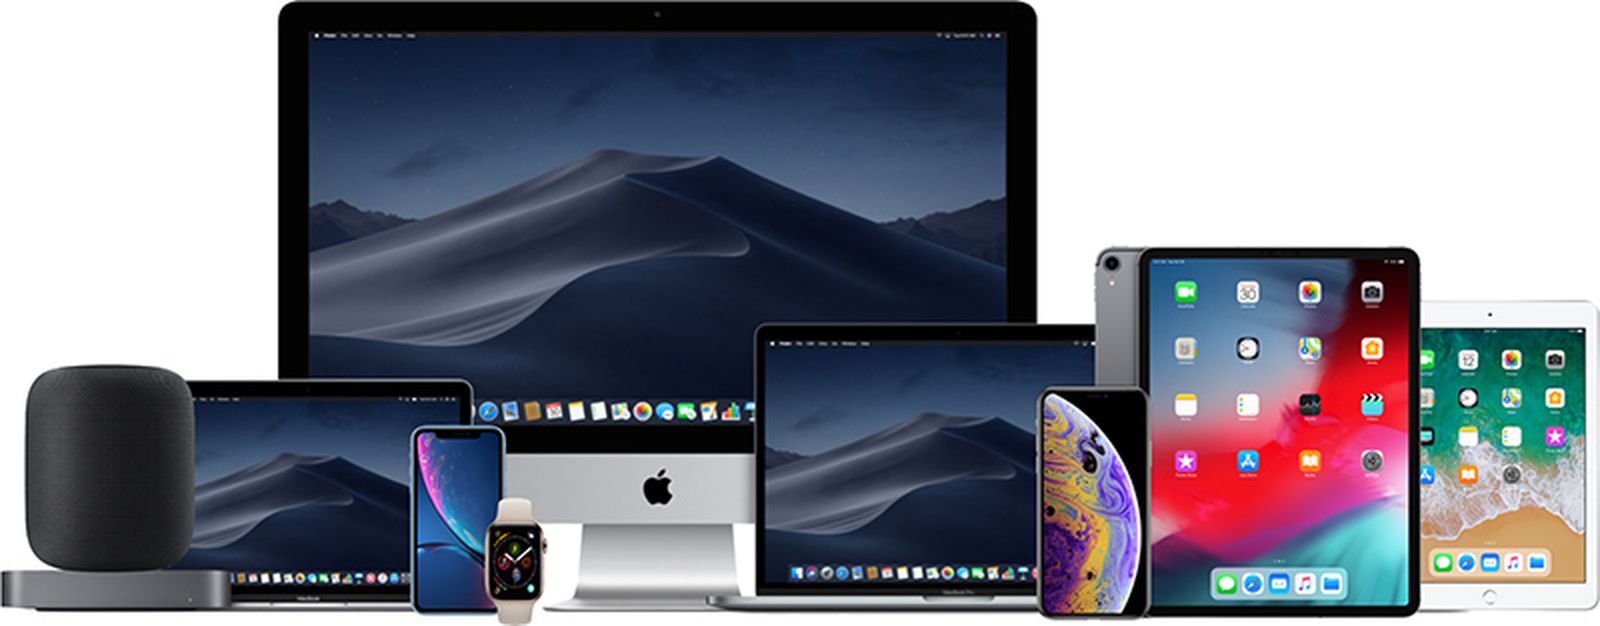
The Range of Apple Devices that we can service and repair

appleproductlineup

apple product lineup

Unknown to most, we can repair ALL hardware on current and end-of-life Mac products, guaranteed, or you won’t pay a cent! We can fix all the Apple products listed below. If yours is not listed, chances are we can still fix it. Call us, and we can give you a free assessment over the phone and issue you with a free quick quote to repair your trusty Apple device.

Here is the short list of Apple devices that we offer Repairs, Support and Services on;

Networking your Apple

Our PC Doctors can come to you to get your Apple talking to the other technology around your home or office. We can set up a network between your Apple devices, your PC, your TV and even your fridge (if it’s a fancy one).

Upgrading your Apple software

Even Apples can get sick from time to time, and when they do, they are difficult to repair without the right training and technical knowledge. Our PC Doctors can repair and update your device’s software to bring it back to full health again.

Repairing your Apple hardware

The most standard hardware repair required for your Apple is usually going to be a hard disk failure of some sort. That’s the bad news. The good news is: if you’re experiencing any hardware problems, our PC Doctors have the right tools, spare parts and knowledge to get you up and running again – so you can go back to being an awesome Mac owner… right? Some of the common Mac Hardware Repairs that we do;

  • Blu-Ray/CD/DVD-Rom Repairs/replacements and also removing credit cards and other objects out of them
  • Cracked LCD/LED Screen Replacements
  • Logic/Motherboard Repairs and Replacement
  • WiFi Board Repairs and Replacement
  • Battery Troubleshooting/Replacement
  • Power Button Repairs and Replacement
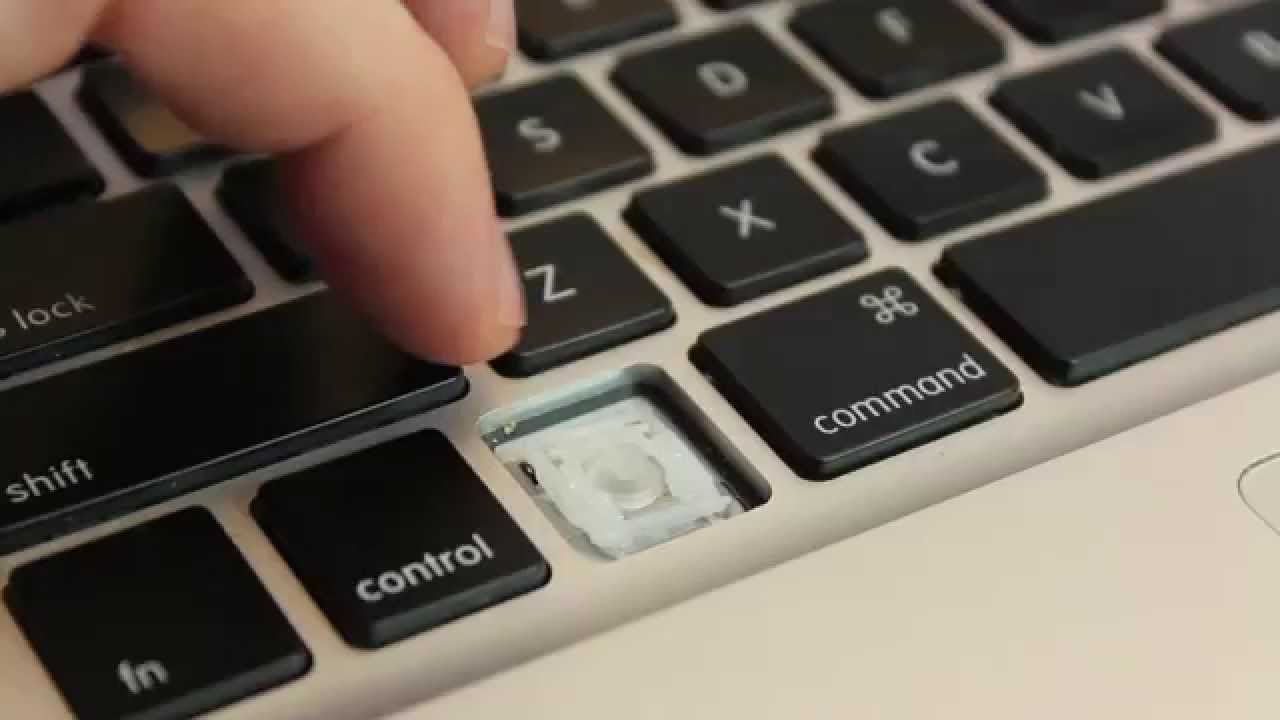
  • Keyboard Replacements ( We cannot replace individual keys, only the whole keyboard )
  • GPU/Graphics Chip Repair, Replacement and Re-ball
  • HDD/Hard Disk Drive Replacements and Upgrades to High-Performance Solid State Drives

For the best and most comprehensive at-home or office Mac, Apple repairs and support services in Australia, call The Original PC Doctor on 1300 723 628.

See some of the Apple repair jobs that have come in for service with our technicians below.

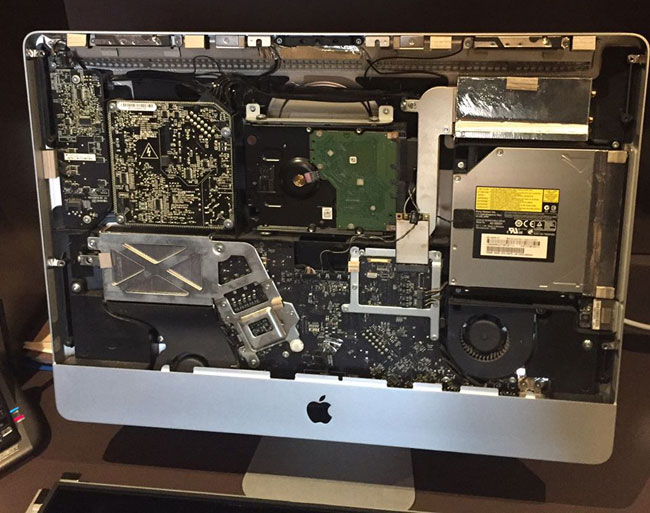
iMac GPU/Motherboard Issue

iMacs Build up a lot of heat inside; this causes slow performance, and eventually, the graphics accelerators can get so hot that they detach themselves partially from the main-board, causing issues with the display. Its most noticeable after the computer has been on for some time, the screen or whole computer will shut down.

real imac repair by the original pc doctor

Spinning Beach Ball Error

mac spinning beach ball of death

The folder Icon of the Desktop and Computer will not boot.

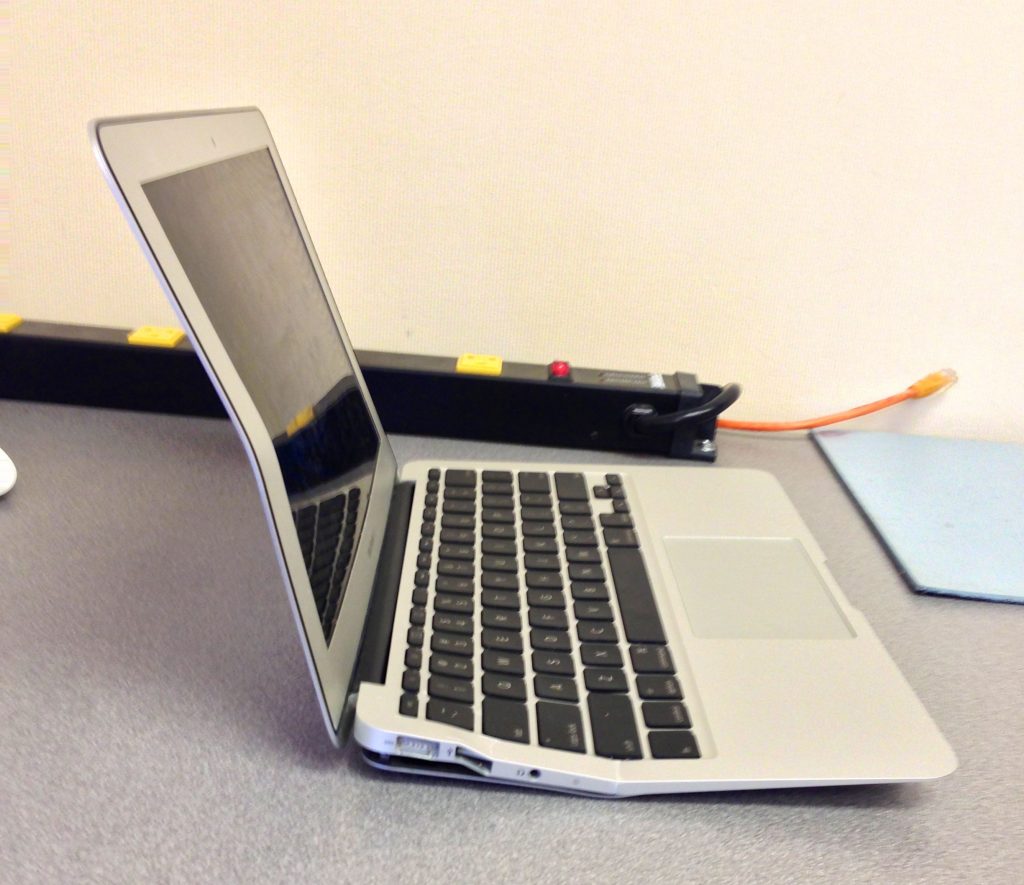
MacBook Air was run over by a car.

MacBook LCD Screen Needs Replacing

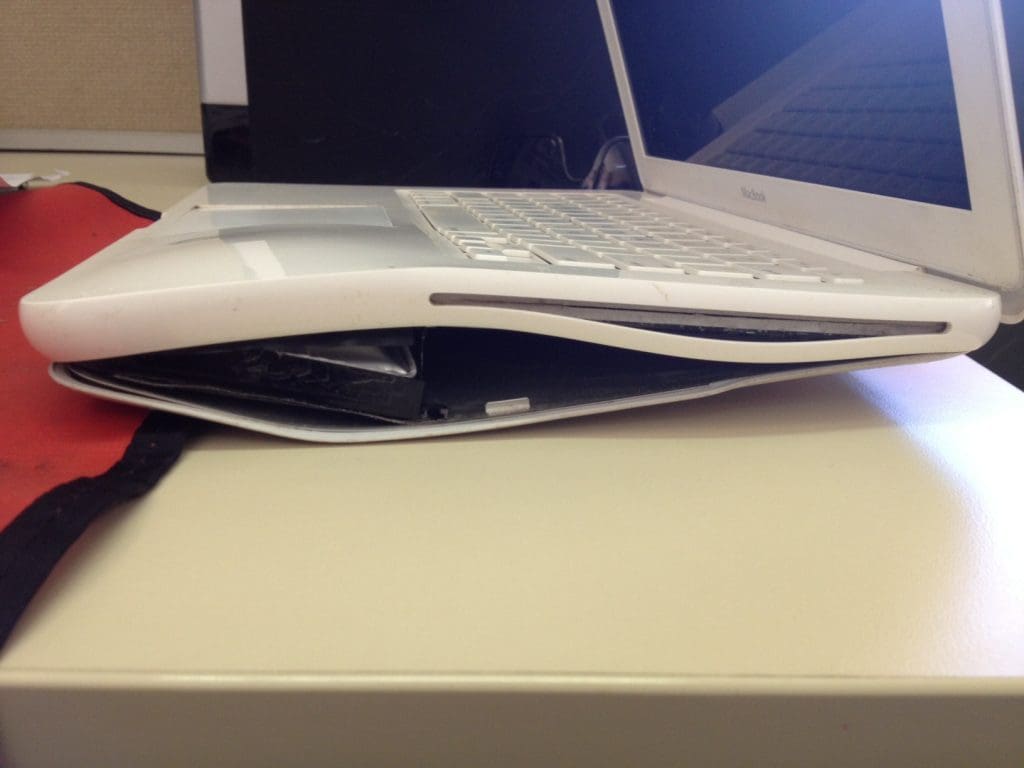
MacBook Exploded Battery: we can replace it with a new one.

MacBook with Faulty Battery

Macbook Liquid Damage Repair

MacBook Liquid Damage Repair

MacBook Liquid Damage Repair

macbook keyboard replacement

MacBook keyboard replacement

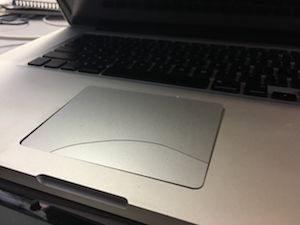
macbook touchpad replacement repair

macbook touchpad replacement repair


All of our services are backed by our No Fix No Fee™ and our 14-Day Work Satisfaction Guarantee™. Meaning if we can not fix your problem you don’t pay a cent. Also, if we do fix it, we guarantee it will be trouble-free; otherwise, we will fix it again at our expense within 14 days of the repair. Call our local Australian call centre to find out more about our awesome team of Mac techs at 1300 723 628 – Apple Mac Repairs & Service Australia-Wide

If your Apple device is looking “terminal” and is worth less than $100, we recommend you recycle it rather than adding it to a landfill or asking us to fix it. For computer recycling in Australia, you can contact this organisation -> Computers & Electronics Recycling Australia.

Apple User FAQs

  • How to screenshot on mac?

    There are several ways to take screenshots on your Mac, depending on what you want to capture:

    Capture the entire screen:

    • Press and hold these three keys together: Shift, Command, and 3.

    Capture a specific area:

    1. Press and hold Shift, Command, and 4.
    2. Your cursor will change into a crosshair.
    3. Drag the crosshair to select the area you want to capture.
    4. Release the mouse or trackpad button.

    Capture a window or menu:

    1. Open the window or menu you want to capture.
    2. Press and hold Shift, Command, 4, and Space bar.
    3. The pointer will change into a camera icon.
    4. Click the window or menu to capture it.

    Additional options:

    • Hold Control while pressing the other keys to copy the screenshot instead of saving it to your desktop.
    • Hold the Option key while clicking a window to exclude its shadow from the screenshot.
    • Press the Escape (Esc) key to cancel taking the screenshot.

    For more details and additional options, you can refer to the Apple Support article on taking screenshots: [Apple take screenshot ON support.apple.com]

    Embark on a journey of connection and joy! Share this page with your loved ones on your favourite digital platform. Click one of the icons below and let the magic of sharing begin!
  • How to empty trash on Mac?

    Here are two ways to empty the trash on your Mac:

    Method 1: Using the Trash icon

    1. Click on the Trash icon in your Dock.
    2. In the Finder window that opens, do one of the following:
      • Empty all of the Trash: Click the Empty button in the top-right corner of the window. Alternatively, click on Finder in the menu bar, then choose Empty Trash.
      • Empty one item from the Trash: Control-click on the specific item you want to delete and choose Delete Immediately. Confirm the deletion in the pop-up window.

    Method 2: Using keyboard shortcuts

    • Empty all of the Trash: Press Command + Option + Shift + Delete.
    • Empty one item from the Trash: Select the item in the Trash window, then press Option + Command + Delete.

    Note: In both methods, a confirmation dialog will appear asking if you are sure you want to empty the Trash. Click Empty Trash to confirm.

    Additional options:

    • Prevent the Trash warning message:
      • Once: Hold the Option key while clicking the Empty button or choosing Empty Trash from the menu.
      • Always: Go to Finder > Preferences > Advanced, then uncheck the box next to “Show warning before emptying the Trash.”

    Embark on a journey of connection and joy! Share this page with your loved ones on your favourite digital platform. Click one of the icons below and let the magic of sharing begin!
  • How to connect to wifi on Mac?

    Here’s how to connect to Wi-Fi on your Mac:

    1. Look for the Wi-Fi icon:

    • Locate the Wi-Fi icon in the menu bar at the top right corner of your screen. It usually looks like a series of bars with radio waves.

    2. Choose a network:

    • Click on the Wi-Fi icon. This will display a list of available Wi-Fi networks nearby.
    • You should see the names of the networks within range.

    3. Join the network:

    • Click on the name of the Wi-Fi network you want to connect to.

    4. Enter the password (if needed):

    • If the network is password-protected, you will be prompted to enter the password.
    • If you don’t know the password, you’ll need to get it from the network owner.
    • Some public Wi-Fi networks may require you to agree to terms and conditions before you can connect.

    5. Click “Join”:

    • Once you’ve entered the password (if required), click the “Join” button.

    6. Wait for connection:

    • Your Mac will attempt to connect to the network. This may take a few seconds.

    Additional options:

    • Connect to a hidden network:

      • If the network you want to connect to is hidden, you can still join it by clicking on “Other Networks” at the bottom of the list and following the on-screen instructions. You’ll need to know the network name, security type, and password.
    • Advanced settings:

      • Click on “Open Network Preferences” at the bottom of the Wi-Fi menu for more advanced settings related to Wi-Fi connections on your Mac.

    For more detailed instructions and visual aids, you can refer to the official Apple Support article on connecting to the internet using Wi-Fi: https://support.apple.com/en-us/101589

    Embark on a journey of connection and joy! Share this page with your loved ones on your favourite digital platform. Click one of the icons below and let the magic of sharing begin!
  • How to update Mac?

    Updating your Mac is a straightforward process that you can do through Software Update. Here’s how:

    1. Open System Settings:

    • Click on the Apple menu () in the top left corner of your screen.
    • Select System Settings.

    2. Access Software Update:

    • In the sidebar of the System Settings window, scroll down (if needed) and click on Software Update.

    3. Check for updates:

    • The Software Update window will automatically check for available updates for your Mac’s operating system (macOS) and other Apple software.

    4. Install updates (if available):

    • If updates are available, you will see a list of them displayed.
    • You can review details about each update by clicking the information icon (ⓘ) next to it.
    • To install the updates, click the Update Now button.

    5. Enter administrator password (if prompted):

    • If you’re not logged in as an administrator on your Mac, you will be prompted to enter your administrator password to proceed with the installation.

    6. Wait for the installation to complete:

    • The download and installation process may take some time, depending on your internet speed and the size of the updates.
    • Your Mac may restart one or more times during the installation.

    Additional options:

    • Automatic updates: You can enable automatic updates for macOS and app updates by checking the corresponding boxes in the Software Update window.
    • Specific version download: If you’re looking to install a specific macOS version, you may need to download it from the Apple Support Downloads website: https://support.apple.com/downloads/.

    It’s always recommended to keep your Mac updated for optimal performance, security, and compatibility with the latest software.

    Embark on a journey of connection and joy! Share this page with your loved ones on your favourite digital platform. Click one of the icons below and let the magic of sharing begin!
  • How to copy and paste on Mac?

    Here’s how to copy and paste on your Mac:

    To copy:

    1. Select the content: Use your mouse or trackpad to highlight the text, image, or file you want to copy.
    2. Use the keyboard shortcut: Press Command (⌘) + C. Alternatively, you can click on Edit in the menu bar and then choose Copy.

    To paste:

    1. Click the location: Navigate to where you want to paste the copied content.
    2. Use the keyboard shortcut: Press Command (⌘) + V. Alternatively, you can click on Edit in the menu bar and then choose Paste.

    Additional options:

    • Cut: If you want to remove the content from its original location while copying it, use Command (⌘) + X instead of Command (⌘) + C.
    • Paste and Match Style: If you want to paste the content while adopting the formatting of the destination (e.g., font style, size), use Option + Shift + Command (⌘) + V or choose Edit > Paste and Match Style.

    Remember, these are just the basic methods. You can also use right-click menus and trackpad gestures for additional options depending on the application you’re using.

    Embark on a journey of connection and joy! Share this page with your loved ones on your favourite digital platform. Click one of the icons below and let the magic of sharing begin!
  • How to type special characters on Mac?

    There are three main ways to type special characters on a Mac:

    1. Using Keyboard Shortcuts:

    Many accented letters and symbols have dedicated keyboard shortcuts that you can use by pressing specific keys in combination. Here are some examples:

    • Acute accent (´): Hold down the Option key and press the corresponding letter key. For example, Option + E for é.
    • **Grave accent ()**: Hold down the **Option** key and press the **grave accent key** (), then the desired letter key. For example, Option + ` + E for è.
    • Umlaut (¨): Hold down the Option key and press the U key, then the desired letter key. For example, Option + U + A for ä.
    • Common symbols:
      • Copyright (©)Option + C
      • Registered trademark (®)Option + R
      • Degree symbol (°)Option + Shift + 8

    2. Using the Character Viewer:

    • Open the Character Viewer in one of these ways:
      • Press Control + Command + Space
      • Click on Edit in the menu bar and choose Emoji & Symbols
    • A window will appear displaying various categories of characters and symbols.
    • You can browse through the categories or use the search bar to find the specific character you need.
    • Click on the desired character to insert it into your document.

    3. Using the Input Menu:

    • This method works for adding accents to letters that don’t have dedicated keyboard shortcuts.
    • Hold down the Option key while typing the letter you want to accent.
    • A small menu will appear above the letter with various accent options.
    • Use your arrow keys to choose the desired accent and press Enter to insert it.

    These methods should allow you to type most special characters on your Mac. For a more comprehensive list of keyboard shortcuts and character codes, you can refer to the Apple Support article: https://support.apple.com/guide/pages/accents-and-special-characters-tanec2c2fdfd/mac

    Embark on a journey of connection and joy! Share this page with your loved ones on your favourite digital platform. Click one of the icons below and let the magic of sharing begin!
  • How to change background on Mac?

    Here’s how to change the background on your Mac, also known as the wallpaper:

    1. Open System Settings:

    • Click on the Apple menu () in the top left corner of your screen.
    • Select System Settings.

    2. Access Wallpaper:

    • In the sidebar of the System Settings window, scroll down (if needed) and click on Wallpaper.

    3. Choose your new background:

    • You’ll see a preview of your current wallpaper and several options for choosing a new one:
      • Apple images: A selection of static and dynamic wallpapers provided by Apple.
      • Photos: Access your Photos library to choose a personal photo as your background.
      • Folders: Select a folder containing images you want to use as wallpapers. The images will rotate periodically.
      • Solid colors: Choose a solid color as your background.

    4. Select and apply the wallpaper:

    • Click on the desired image or category.
    • You can choose how the image will fill your screen (tiled, stretched, centered, etc.) using the dropdown menu below the preview.
    • Click Set Desktop Picture to apply the new wallpaper to your desktop.

    Additional options:

    • Drag and drop: You can also change your wallpaper by dragging an image file from your desktop or Finder onto the Wallpaper preview in the System Settings window.
    • Desktop & Lock Screen: You can choose different wallpapers for your desktop and lock screen by selecting them individually under the “Appearance” section in Wallpaper settings.

    I hope this helps!

    Embark on a journey of connection and joy! Share this page with your loved ones on your favourite digital platform. Click one of the icons below and let the magic of sharing begin!
  • Toggle Title

    Toggle Content
    Embark on a journey of connection and joy! Share this page with your loved ones on your favourite digital platform. Click one of the icons below and let the magic of sharing begin!
  • How to uninstall programs on Mac?

    There are two main ways to uninstall programs on your Mac:

    1. Using Launchpad:

    • Launchpad is the application launcher similar to the Start menu on Windows. Here’s how to uninstall programs using it:

      1. Open Launchpad. You can find it in the Dock or access it by swiping up with three fingers on your trackpad (if enabled).
      2. Press and hold the Option key (⌥ Opt) on your keyboard. This will make the app icons jiggle.
      3. Click the “X” that appears in the top left corner of the app you want to uninstall.
      4. Confirm the deletion by clicking Delete.

    2. Using Finder:

    • This method works for apps not located in Launchpad, such as downloaded applications.

      1. Open Finder.
      2. Go to the Applications folder. You can find it in the sidebar or navigate using Go > Applications from the menu bar.
      3. Drag the app icon you want to uninstall to the Trash in the Dock.
      4. Empty the Trash to permanently delete the application.

    Additional notes:

    • Uninstalling vs. deleting: Uninstalling removes the application and its associated files from your Mac. Deleting only removes the app icon, but its files might still be present on your storage.
    • Uninstalling specific apps: Some applications come with their own uninstallers. You might find them within the application itself or in a separate folder within the Applications folder.
    • Administrator privileges: You might need administrator privileges to uninstall certain applications. If prompted, enter the administrator password to proceed.
    • Leftover files: Even after uninstalling, some applications might leave behind leftover files or preferences. You can use third-party uninstaller tools or manually search for and delete them, but exercise caution to avoid removing essential system files.

    Embark on a journey of connection and joy! Share this page with your loved ones on your favourite digital platform. Click one of the icons below and let the magic of sharing begin!

Submitted Successfully

We will respond soon

Embark on a journey of connection and joy! Share this page with your loved ones on your favourite digital platform. Click one of the icons below and let the magic of sharing begin!

Want a Quick Quote?

If you are experiencing any problems with your technology please enter your details below and one of our helpful helpdesk staff will contact you back in 30 minutes or less.

    Sign me up for the weekly newsletter

    We will never share your information with anyone.
    Privacy Policy.

    Customer Reviews
    The Original PC Doctor
    Average Rating: 4.5 out of 5
    *Based on 13941394 customer reviews collected via multiple sources (Word of Mouth, Product Reviews, Google Reviews and our feedback system.
    100+ Customer Reviews Milestone Badget - Word of Mouth
    The Original PC Doctor - 23 years of business excellence