Digitising old photos
Most families with children now in their 20’s or 30’s will have a box of old photos and negatives lying around somewhere, Kodak envelopes full of photos shot on 35mm in an age before digital cameras.
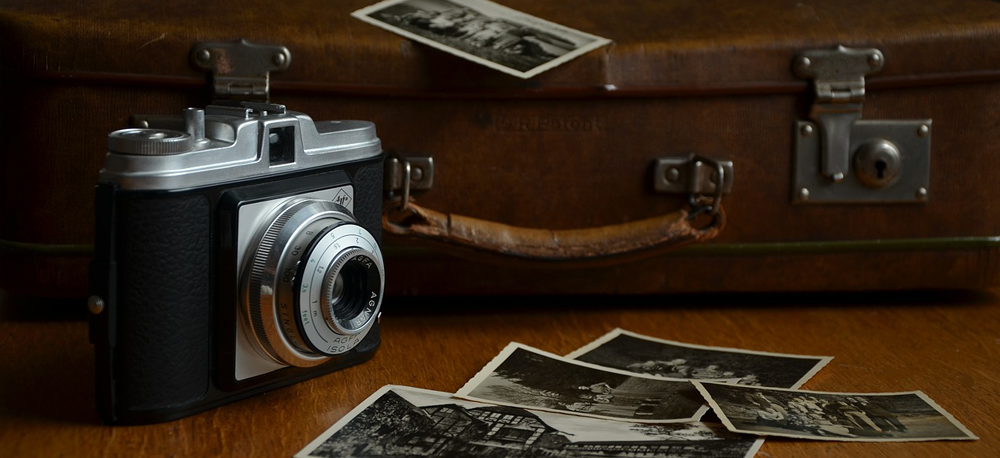
When wearing flairs and fluro was cool, and social networking involved having friends over for a slide-show which used real, mounted slides and a projector not connected to a computer. The audio accompaniment, if there was one, would undoubtedly be original vinyl. Times have changed since then and so have the ways people share photos. Those photos you took twenty or thirty years ago might be starting to fade, or get a bit tattered.
Transferring old photographs or negatives and bringing them into the digital age to preserve and share them for and with the next generation couldn’t be easier. By scanning (or digitising) your old photos, you’ll be able to keep them as long as you have a computer and storage space. You’ll be able to share all your photos with friends and family using email or Facebook.
Step 1: Buying a scanner
Buying a decent scanner is the first step. Dig out your old photos and see if you have negatives for the majority of your images. If you do, scanning negatives (as opposed to developed photos) can be a much more efficient way of digitising, because you can scan 6-12 (depending on your scanner) images at a time and you don’t have to pull apart whole photo albums.
Not all scanners can handle negatives so check the model first. Most mid-level scanners come with the ability to scan 6 frames and some slightly more expensive models will do 12. If you’ve got lots of negatives it may be worth investing in a 12 frame scanner, as it will allow you to scan more before swapping negatives.
Regardless of what you’re scanning, you want to get a scanner that can scan at least 2400dpi (which most can do). You also want one which has software to automatically straighten your images and save each as an individual file. Newer scanners use white LEDs and these can start scanning instantly without having to warm up like older lamp based models.
Step 2: Installing it all
Once you’ve picked a scanner and taken it home, follow the instructions provided to set it up, if you are having problems give The PC Doctor a call, and we will set it up for you.
Step 3: Start your scanners
This is going to be the long part. We tested these steps on a Canon 5600F scanner, which does an excellent job. The steps we’ve listed here might vary depending on the scanner brand and model you end up with.
Setting up to scan from negatives
First up, look through the negatives you had hidden away, and, holding them up to a window, try to find the shots that look like they have face in them. If you have, literally, boxes of negatives to scan in, you might not want to scan absolutely every shot.
Once you decided which negatives you wanted to scan, carefully put them into the negative caddy and remove the white, photo scanning plate of the scanner. Slide scanners have an illuminated strip built into the lid (as well as the scanning element) and this lights up the negative from behind. It doesn’t really matter which way up the negative is unless there are signs or writing in the image. In these cases, you will get a mirror image of the shots. Play around with the negative until you get it round the right way. Many image manipulation programs will let you flip images if you get through a stack and then realise they are in the wrong way.
After you have placed the negative on the scanner, opened up the bundled software package (MP Navigator EX), select “Scan/Import” and then chose “Film”.
If you’re not sure what you are going to do with the finished images, it is worth scanning them at slightly higher resolution. By default, the scanner tries to scan film in at 1200dpi, but you can increase it to 2400dpi by clicking on “Specify” and changing the value selected. This should give you enough extra quality in case you decide at some point that you want to print the images in a photo book or as an enlargement. If you know for sure this is what you’ll be doing, then we’d suggest increasing the resolution even further up to 3600 or 4800dpi. Scanning will take ages and create huge files, but they’ll be as sharp as possible.
Setting up to scan photos
Scanning from photos is slightly easier than scanning from the film, but you won’t be able to fit as many images on to the scanning glass.
Lay as many photos as you can onto the scanning glass, leaving a small gap between the images. The gap helps the scanner detect the boundaries of each image so it can slice them up into individual files for you.
Choose the resolution you’d like to scan the image in at, and then press the Scan button.
Scanning
After you’ve changed your settings for film or photos, press the Scan button. After you press Scan the scanner takes a quick snapshot of the negatives, cuts them up and asks you which you’d like to scan in higher resolution. This is useful if you don’t want to scan all the images on a negative. Pick the images you want and press Scan again.
The scanner will do its thing and your images will appear in the program.
Once your images have been scanned, you’ll need to save them by clicking on the “Save” button at the bottom left. Give your pictures a descriptive file name hit Ok.
Step 4: Sorting and filing your photos
Once you’ve scanned all your images, you can use an image viewing program like Google’s Picasa (free) or Adobe Photoshop Elements (paid) to put pictures up the right way, flip them over and make small touchups. You can even get rid of red eyes from pictures you took twenty years ago.
Once you’ve touched up all of your images, make a full copy of all of your digital files. This is essential. There is nothing worse than completing a massive project, only to have it all lost by a power surge, burglary or accidental coffee spill. Gizmo recommends buying a removable hard drive which you can copy both your photos and other important files too. Remember to store it somewhere safe (and not with your computer). We’d suggest a friend’s house or a locked drawer at work as this keeps you protected against theft and fire. Alternatively, if you have a fast Internet connection, you might want to look into an online backup service.
Written by The Original PC Doctor on 7/9/12.


